Showing posts with label Landy. Show all posts

Saturday, 6 May 2017

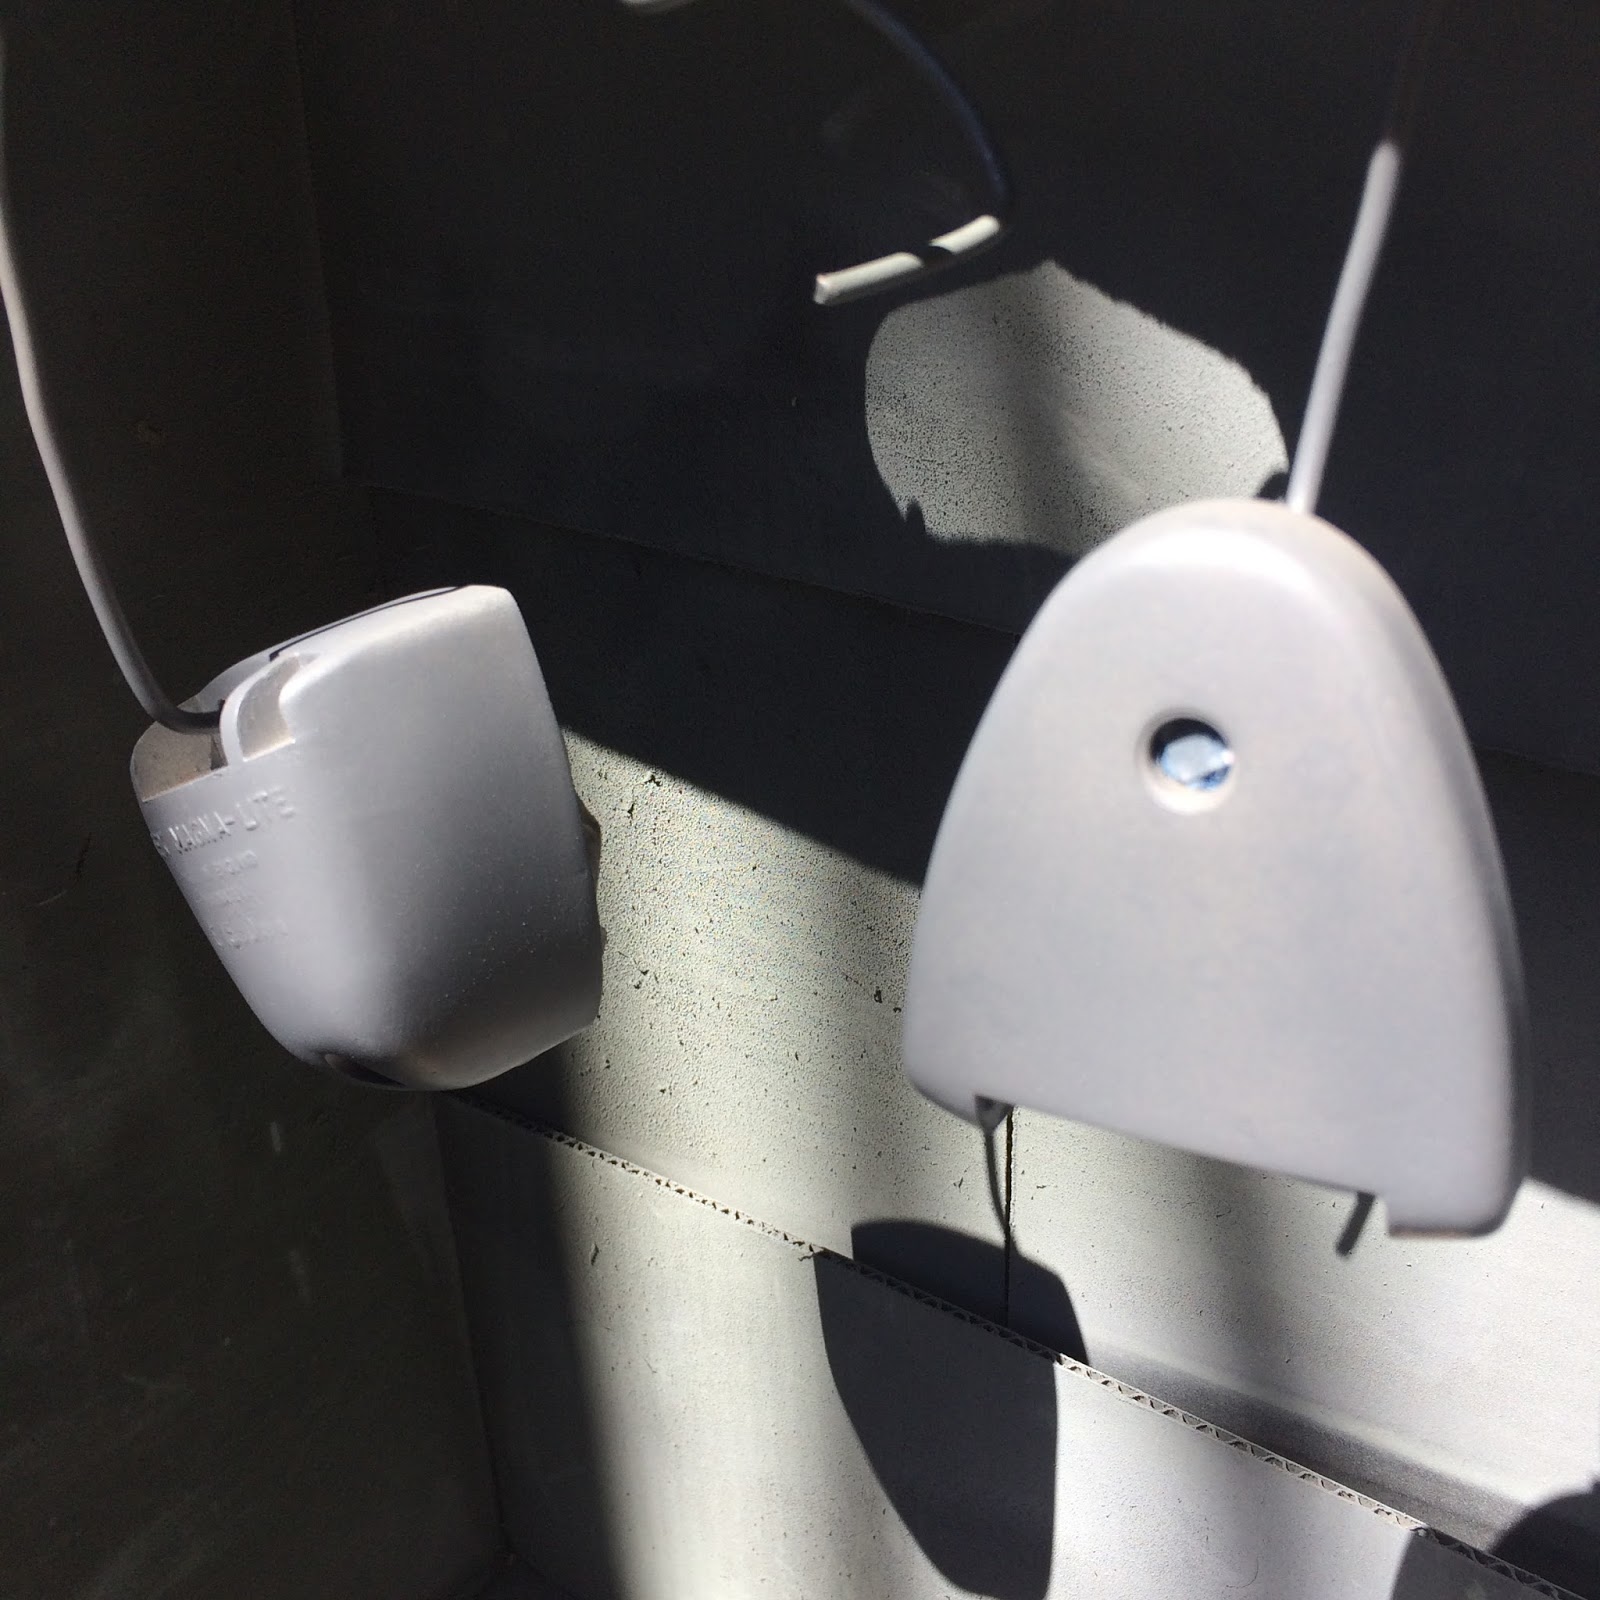
Mini Project - Tex Magna-lite

The Tex Magna-lite seems to be one of those Land Rover accessories that are becoming more and more popular, more and more expensive, and a little harder to find.  The good news, however, is they seem to be fairly bullet proof, and it is possible to buy a replacement rubber for the wheel that runs off the steering column, which seems to be the only perishable component.  The following series of photographs depicts the restoration of my Tex Magna-lite which is not for Leif but for my brother's Military Series 2, hence the matte black finish.

What I started with, not bad condition and complete

Reverse side showing signs of corrosion

Disassembled, decades of dirt and grime inside

 Detail clean and surface sanded

Before........

..... and after a few hours scrubbing and scraping

wiped down and masked

The original grey exterior paint is to be changed to matte black to suit military vehicle, but I decided to retain the original finish inside, hence the masking

Ready for primer

First coat of primer

Sanded back ready for the next coat of primer

finished black paint

green lens still in great condition and protected during painting

Paint work finished, bracket sand blasted and painted to match, chrome lever polished, switch cleaned and tested, new wire, rubber wheel, electrical cable and soldering iron kit purchased

New rubber wheel (not the cheapest thing in the world)

Not sure why the wheel is made up of so many parts

New wires soldered into place and missing wires replaced

Re-assembled with just the cover to fit

Finished and looking fantastic!!!

Ready to be installed.


Saturday, 4 February 2017

Restoration - Day 6

Day 6 - Restoration (03.02.17)

Day 6 was a day of great progress but not much to see in photographs.  

First of all Leif dropped all his fluids:

Radiator drained

I thought the radiator was still the original Land Rover radiator; sadly it turned out to be a Holden one, and a very brittle one at that!  New radiator needed.

 Foul smelling engine oil drained, followed by the gearbox and transfer box

 My restored dash panel was carefully removed to avoid damage

Red wires galore!  Wiring is a complete mess presumably mucked about with when the Holden engine was installed.  It is all getting ripped out and replaced with a new harness from Autosparks in the UK.


Not much to see in this photo, but the engine is totally disconnected and ready to be separated from the gearbox and lifted out.  Exhaust is off, bulkhead is almost completely stripped with brakes and steering assemblies still to go.  Vents and bug mesh is removed, and radiator panel is obviously off as well. 


Sunday, 29 January 2017

Restoration - Day 5

Day 5 - Restoration (29.01.17)

 Day 5 started with drilling out more blasted screw heads, this time to remove the splash guard from the footwell

 Drivers wing removed fairly easily as most of the bolts were missing, presumably from when the engine was replaced

 The passenger side took considerably longer to remove thanks to four silly rusty clips holding the wiring loom to the inner guard

 Some minor rot found on the passenger side door pillar.....

 .... and some on the driver's side.

After being told by people to be careful that the bulkhead might be rotten under the windscreen, I was pleased to find it was as good as new once the windscreen was lowered.


 Windscreen removed and weather seal scraped off revealing the rust free bulkhead

End of day 5

Monday, 23 January 2017

Restoration - Day 4

Day 4 - Restoration (22.01.17)


Day 4 and I am really getting to see some of Leif's secrets.  My aim for the day was to loosen all fixings for the rear tub, and I am glad to say that I achieved that, but it took a lot longer than expected, with a few hurdles along the way.

In order to remove the tub, the B-pillars first had to be removed. To do this I had to remove the repair panel that had been added to the passenger side of the tub.  I was really interested to see what the panel was covering and after a lot of drilling of rivets, and grinding of body filler to expose those rivets, the result was somewhat anti-climatic with only a few holes in the original skin; presumably caused by rot due to the water tank behind.  The effort taken to fit the new skin, and the amount of filler used to blend the joint was in my mind excessive, but on the positive note, I now plan to repair the original skin, leaving the tub intact rather than fitting the replacement side I have in my parts pile.

Repair skin - Exposed pink line is where repair panel stops and filler has been used to blend to original panel.  A crack in the filler was an indication to the repair, in addition to the abnormally placed rivets

Thank goodness for friends with the right tools!  This made light work of finding the rivets buried in the filler

Dusty work!

Repair skin removed and original body revealed.  There is definitely no doubt about the original body colour!

There is a lot of filler still to be removed!

Bleeding bullet holes? Haha

Covered up rot

More covered up rot

With the repair panel removed I could access the last few rivets holding the B-pillars in place, drill them out and remove the pillars in their entirety.  

I knew the B-pillars were in bad shape, but I had no idea just how bad.  The C-pillars on both sides are only attached by a lightweight repair which is basically a cosmetic cover up. The B-pillars which I had noticed were a different colour, could now clearly be seen as a rough replacement. I can only assume the original pillars rusted out and this was a DIY repair solution.


B-pillars removed, and very fragile

Drivers side C-pillar completely rotten. I must say it is hardly surprising given the design of this section. The extended sill rail serves no purpose other than to collect mud and trap it. The result is inevitable

Passenger side C-pillar. Yes, as bad as the driver's side

Close up - looks like something from the Titanic!

Driver's side cosmetic cover up piece hiding what is below. This is all that holds the C-pillar to the sill rail

Passenger side cover up
Cover up piece on the driver's side did well to conceal the damage

What I have.......

.... what I would like to have!

The part pictured above is what the B-pillar is supposed to be like, but I am not sure if it is available anymore.  I found this picture on a forum post from 2010 where people were in search of it.  As it turns out this same piece fits Defender 110's as well as Series vehicles.  The difference in wheelbase is apparently in the tub. (please don't quote me on this, but do let me know if you have two of these parts in your possession!)

So, what to do? Well, thankfully I have two spare B-pillar sections from a Series 3, they are old and rusty but hopefully they are better than what I have, and after some internet searching and talking to my brother in the UK, it looks like YRM metal solutions might be the answer:


 YRM Replacement sill rail

YRM Replacement B-pillar bottom

YRM Replacement C-pillar bottom

So, all in all, an interesting da. Next, off with the wings!