Showing posts with label backyard repair. Show all posts

Friday, 15 January 2016

UGU is fixed and the Doctor was me!

Gosh, it has been a while since I have sat down to write a blog, but today I made the special effort to celebrate my experience.

Last week I went to take UGU for her first run of 2016, but on starting her I knew immediately something wasn't right.  Parked in an underground garage she limped to the garage door but didn't have the power to pull up the driveway and was running so rough that anyone would have thought she was a diesel.


UGU sounding very sick

Unsure what to do I called my mechanic, who unfortunately was still on Christmas holidays.  I then turned to my Facebook group W(A)114/115, and posted a video of UGU's state of ill health.  It was here that I got my course of action.

UGU still looking pretty even with her bonnet up :)

It was suggested that UGU was running with at least one cylinder not firing, and that by systematically disconnecting the spark plug leads one at a time, any lead removed that did not cause the engine to run differently was at fault.

As it turned out both cylinders 2 & 4 were not firing! (No difference made to the engine running)

With my little helper and original Mercedes-Benz spark plug tool I carefully removed these two spark plugs and replaced them with new ones.
Daddy's little helper

Original Mercedes-Benz tools

Whilst doing this I was terrified of a similar result to that of my W116, where one of the spark plugs had been installed incorrectly stripping the threads, ending up with a halo coil being inserted.

Thankfully UGU's spark plugs came out easily, and the new ones went in without any problems. I crossed my fingers and turned the key, yeeha! She's alive and well.

The spark plugs that were removed were absolutely black, I am not sure if this is because she hasn't been on any decent runs in a long time, but for the minute the new ones are in, UGU is running and I am happy.

YUK! Source of the problem
New spark plugs ready for insertion with "neck collar thingy" removed

I proceeded to replace the remaining four spark plugs with a grin on my face and with them all replaced, I washed up and took UGU for a drive, finally her first run of 2016!!!

UGU on her first run for 2016 to Perth's iconic Kings Park

Whilst out on my cruise with UGU my efforts were rewarded as I was driving along Bagot Road in Subiaco, I just had to pull over, I couldn't believe my eyes!! Sitting parked at the side of the road, hiding from the sun under the shade of a tree, was a brand new Land Rover Defender 90, limited edition "Heritage"!

 Land Rover Defender, Special Edition Heritage, WANT ONE!

Now in business I am often referred to as a "details man", therefore it would not surprise many as to how much I love this Landy!

The Heritage Defender references the 1948 design features of the first Land Rover Series 1, affectionally know around the world as "Huey", his number plate was HUE 166.  You will see this number on the badges on the wings and as embellishments on the seats, the wire mesh style grille replaces the previous plastic version, door hinges are painted silver to acknowledge the original galvanised ones and the "Land Rover" badges on the grille and mudflaps have all been reverted back to the way they used to be.

 A nod to "Huey"

Original branding badges make a welcome return.  

Also check out the company on the wheel cover Milvill and Moon, they have some beautiful stuff, hand made in Africa

With the Defenders days now numbered and buyers going crazy to snap up the last models, the Heritage will be a future classic I have no doubt, perhaps it already is a classic?! In the future, when all the planets align, the clouds are the right shape, and a pig flies gracefully through the air,  I hope to have one to park alongside UGU and Leif.

Find out more about the Limited edition Land Rover Heritage: Land Rover Defender, special edition Heritage

Wednesday, 19 August 2015

UGU takes on more gravity

I have been meaning to write this blog post for almost a year, and finally got the motivation to do it when a fellow W114 enthusiast asked what I have done to UGU with regards to her ride height.

As those of you who have been following my posts will know, I am keen to keep UGU looking as original as possible, but there was one thing that had really bothered me which made me stray from that ethos. That issue was how much higher her nose sat relative to the rear.  This first came to my attention when UGU was lined up at a Mercedes Club display day.  Sitting between a W113 Pagoda and a W108, her nose was notably higher than her neighbours.

UGU with her nose in the air (5th car in line from the foreground)

I asked a few other owners if their coupes had the same issue; the general consensus was that they all sat lower at the back, perhaps to give that sportier look, but UGU's nose did seem to be excessively high with almost 90mm clearance between the top of the tyre to the wheel arch, while the back was almost flush.

Front wheel clearance, looking very high!

Front tyre clearance almost 90mm....

...whilst the back was almost flush.

After displaying UGU at another classic car meet where the following photo was taken, I  decided enough was enough - it was time to do something!

Professional photograph of UGU at Custom Cars & Coffee meeting

After checking that the rear shock absorbers were not worn causing the rear end to sag, I set about sourcing a spare set of front springs which could be reset to bring the front of the car down.  I find it amusing that I have kept the original even though I am positive I will never fit them again!

Sourced from a fellow enthusiast, spare set of front springs

Now, I know this is going to cause some purists to get their knickers in a knot, but this is what I did; it is not a recommendation for others.

Rather than taking a hack saw and cutting a few lengths of the springs I took them to a suspension specialist who heated the springs and reset them, reducing the overall length by 45mm.  Mercedes-Benz springs are cold wound, which is why heating them will cause some people to get upset; but this is what I did after much discussion with other car folk.

The picture below still confuses me, and I have no explanation for it. The freshly painted spring on top is the replacement spring.  You can see the coils on the left side are closer together than the ones on the right; these are the ones that were reset.  The confusing bit is that even after the replacement spring was reset, it is still longer than the original! Like I said, I can't explain it, maybe someone reading this will be able to shed some light on the matter.  

Replacement and original spring.  
Confusingly the reset replacement is longer than the original

With the help of a friend who has built one of the most unique classic Benz show cars I have ever seen, we spent the afternoon fitting the new springs to UGU.

I have heard some horror stories about trying to replace the front springs on a W114 due to restrictions on spring clamp locations. As it turns out we didn't even use spring clamps, just three trolley jacks, two axle stands and a few spanners.


UGU gets new springs with the help of a friend

With UGU up on stands and the front wheels removed, we tackled one side at a time. The  lower control arm was raised to remove the tension of the shock absorber so the bottom two retaining nuts could be removed.  The jack was then lowered and repositioned with another alongside, each one on the hinge points of the the control arm.  We then removed the two cam bolts (a fantastic fixing meaning that we didn't need to worry about alignment as they can only be fitted one way), the two jacks were carefully lowered at the same time allowing the spring to extend to its full length.  The spring will take on a scary bend when doing this so please be careful.  As I said this is what I did, it is not a recommendation to others, and I take no responsibility for harm caused to others by doing it.

With all compression removed from the spring it was removed and the new one seated in the lower control arm before the two jacks were used once again to lift the arm back into position.  I will admit that this was a very fiddly job as the shock absorber needs to be located at the same time the cam bolts are being fitted, all of which happens while the spring is under compression.  Careful adjustments with the trolley jacks finally allowed the bolts to slide home.

One side done, repeat for the other, job done! All that was needed next was to get the wheel alignment checked at the local tyre shop.

After taking UGU for a drive, the front began to settle down and by the time I got home the 45mm resetting of the replacement springs, directly translated to the height reduction in UGU's nose.  For the first time she sat level, and I love the look!

I have now been driving UGU for about a year since she was lowered and I have not had a single issue, no rubbing, bottoming out, and if anything I find she tackles speed bumps much better.  

So there you have an inexpensive exercise thanks to the help of a few friends with some knowhow, making one very happy me.


Thursday, 9 April 2015

Mini Projects - It's all in the detail

With the recent arrival of our first child, along with a very busy period at work, and the commencement of construction on our house extension, to say I have been time poor is an understatement.

Unable to commit to hours on end to tackle some of Leif's larger issues, I have turned my attention to working on small parts that I can do in drips and drabs; mini projects that will all come together to make the master project the best it can be.

In addition to this I have found myself trolling Ebay and Gumtree at an unhealthy bi-hourly rate seeing what parts are out there, thankfully most things seem to be readily available, so I haven't bought too much yet….YET, haha.

The first "mini-project" I have tackled is the rejuvenation of Leif's weather worn badges.

Badges as they were

The badges have been touched up before using a brush, but I wanted to approach the project differently using spray paint.

The rear badges had been moved to the back door as a water tap has been installed in their original location.  From the amount of dirt and dust behind them I guess they have been there for quite a while!

With all the badges removed, and a spare one bought to experiment with, I gave them a good wash followed by a good going over with some wire wool.

I am pretty sure that the badges are all pressed aluminium, so I hit them with three coats of etch primer.......

Then several coats of gloss black car paint.

Ooops!  I managed to get a run in the paint so I had to sand it off and try again.

With the paint left to dry, it was a few days before I returned to them.  I was pretty happy with the black coverage, but now the tricky bit started, removing the paint from the lettering.

I planned to use fine sand paper to remove the paint, so starting with P240 the paint came off easily, but care was needed to ensure the soft aluminium below didn't get too scratched.  I changed to P400 paper which didn't scratch the soft metal.

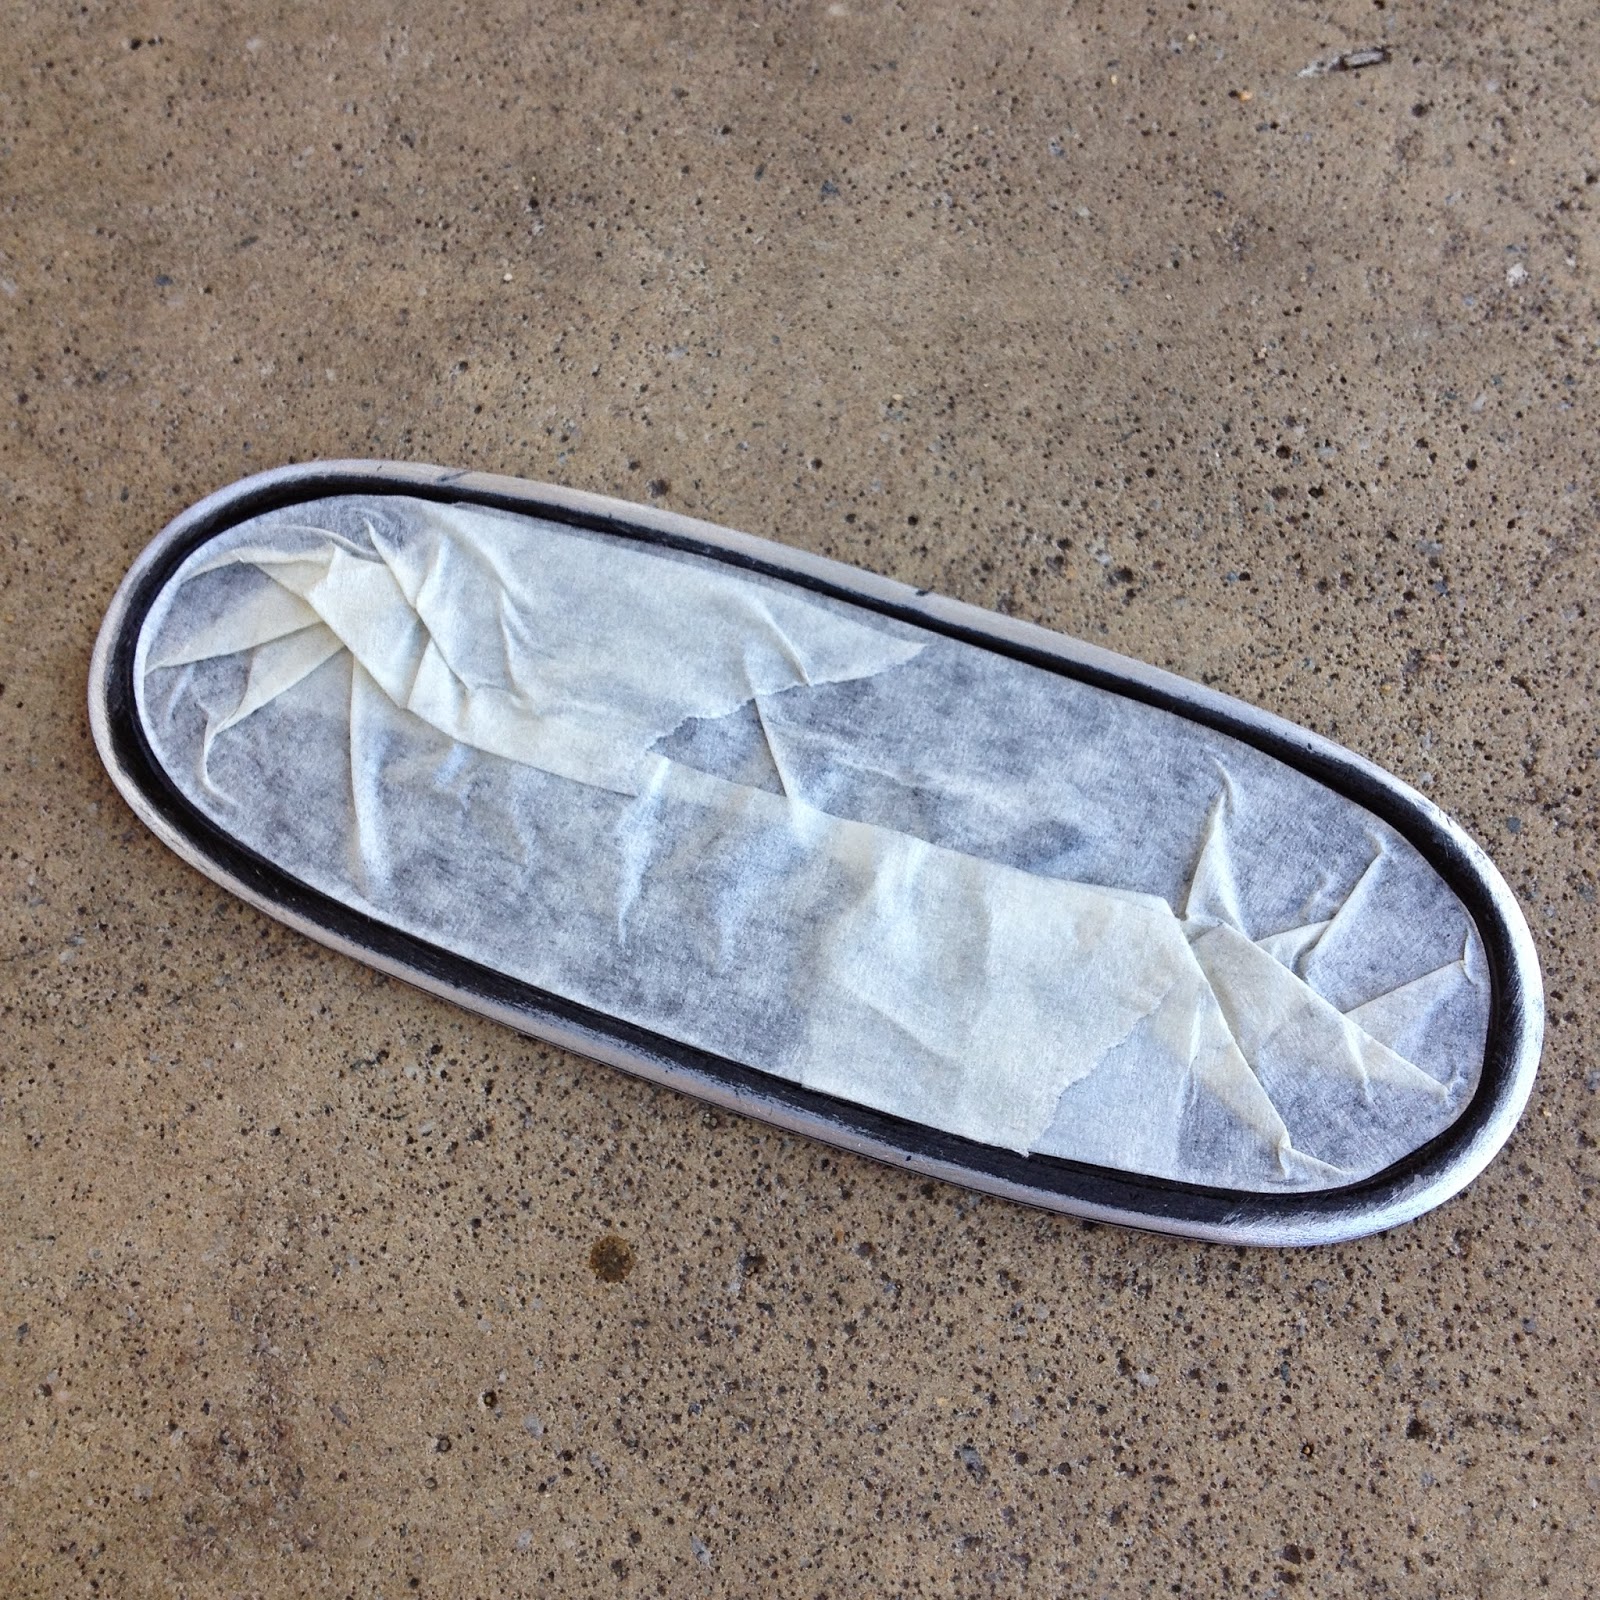
With the badges being so small, it was tricky to sand only the required areas without scratching the paint elsewhere.  After a few failed attempts and some repainting, I decided to cover the areas I wanted to protect with masking tape.

Outer edge sanding commences once masking tape is in place

Outer edge sanding complete

Moving onto the lettering, so the masking tape was removed and reapplied

Lettering complete and ready for the grand unveiling

Not bad even if I do say so myself. Now onto the rest of the badges

A work in progress.  Then onto the next one, who knows when that will be finished!

Until I get the badges finished I figured I may as well have a laugh in the meantime.
G-Wagon Prototype perhaps?

Sunday, 23 November 2014

A tough nut to crack

When removing the interior from Jade, the steering wheel extraction has to be considered as one of the easiest jobs, however the boss removal; that is a whole other story!

Those of you who have been following my blog will know by now that Jade is a Series 1 W114, which means she has the much more delicate and in my opinion elegant steering wheel, complete with a chrome ring which in earlier Benzes, such as the Ponton, is actually the indicator switch.

As part of the series 2 face lift, this steering wheel was changed and brought into line with that of the bigger W116.  That wheel is much chunkier and lacks the classic aesthetic of the previous version, and so it is common to see the owners of series 2 cars sourcing the earlier version to install on their cars.

Jade's Series 1 Steering Wheel

Later Series 2 Steering Wheel, also seen on the W116, R107, W123

To remove the steering wheel all you need to do is use a large flat head screwdriver to prise the horn pad off.  It will easily pop off but be careful not to damage the pad.

With the horn pad removed you will see 5 nuts that hold the wheel to the boss; undoing those nuts will allow the wheel to be separated from the boss.

Steering wheel boss with the steering wheel removed.  Note the large central nut securing the boss to the steering column, and also the uneven spacing of the steering wheel fixings

It is worth noting as you remove the wheel from boss that the bolts are not equally spaced, which means the steering wheel can only be fitted in one location, pretty smart really, but frustrating if you do not notice the uneven spacing.

For the boss removal, you will need to keep the steering wheel fitted as you will need it for leverage and for goodness sakes make sure the steering lock is not on, as you will damage it if it is engaged.

There is a single nut that secures the boss to the steering column (refer to picture above), and as you would expect it is on good and tight.  I used my ratchet and all the extension bars and strength I could muster but it wouldn't budge.

I spoke to a friend to make sure it was not a reverse thread on anything, but it is not, it is just tight, I needed to find an extension bar.

This is where my process of removal will vary from the pro's, as I fully embrace some backyard mechanics, tyrobenz style.

Knowing that there are several properties under renovation near my house, I decided to take the dog for a walk and see if I could spot anything resembling a steel tube in any of the skips.

As none of the skips were at the park, my dog was none to excited about this new experience, so I called it quits and went back home and had another go; nope still not budging.

I next spotted the metal pipes wired to my back yard gates. I have opened those gates neatly every day for the past 4 years and never paid any attention to them until now.  I took them off and checked that they slid over the end of my extension bar, which they did giving me an extra 200mm of a lever.

Extension bar with metal tube from back yard gates

So that I could focus my strength on undoing the nut I decided that it would be best to secure the steering wheel from spinning rather than trying to hold it, so out come same rope.

I tied the rope through the steering wheel spokes and, as Jade's interior has been stripped, I used the hole where the interior light used to be to tie the rope off.

Some backyard mechanics.  Not pretty but free and it worked

With this done I put the socket in place and hoped for the best. To my amazement the nut came loose so easily that I thought I had sheered the bolt.

Steering wheel tied tight and free from movement

Boss removed from steering column, splines undamaged, great success!

As a said, not a conventional method, but it worked, and with the boss off I was able to pack it up and post it off to its new owner, who like I referenced before, is installing a series 1 steering wheel to his series 2 vehicle.

Packed up and ready for postage to the other side of the country


Saturday, 1 November 2014

Vacuum Seat Lock: Video


Further to my previous TyroBenz blog post relating to the repair of the vacuum driven seat locks on UGU's front seats; to which I received a lot of interest, I decided to take the opportunity to make a short video explaining the system as I began to uncover it as the interior dis-assembly of Jade continues.

I really hope that this is of help to someone else:


Apologies the video is not full screen, I will get it right for the next one!