In my written absence I have continued to hoard parts for Leif and with my garage now complete, UGU is home, and I have started to tinker. A friend suggested that I should start Leif's restoration with a small project that I could complete without pulling the whole vehicle apart; the dash panel as an example, and so this is what I have done.
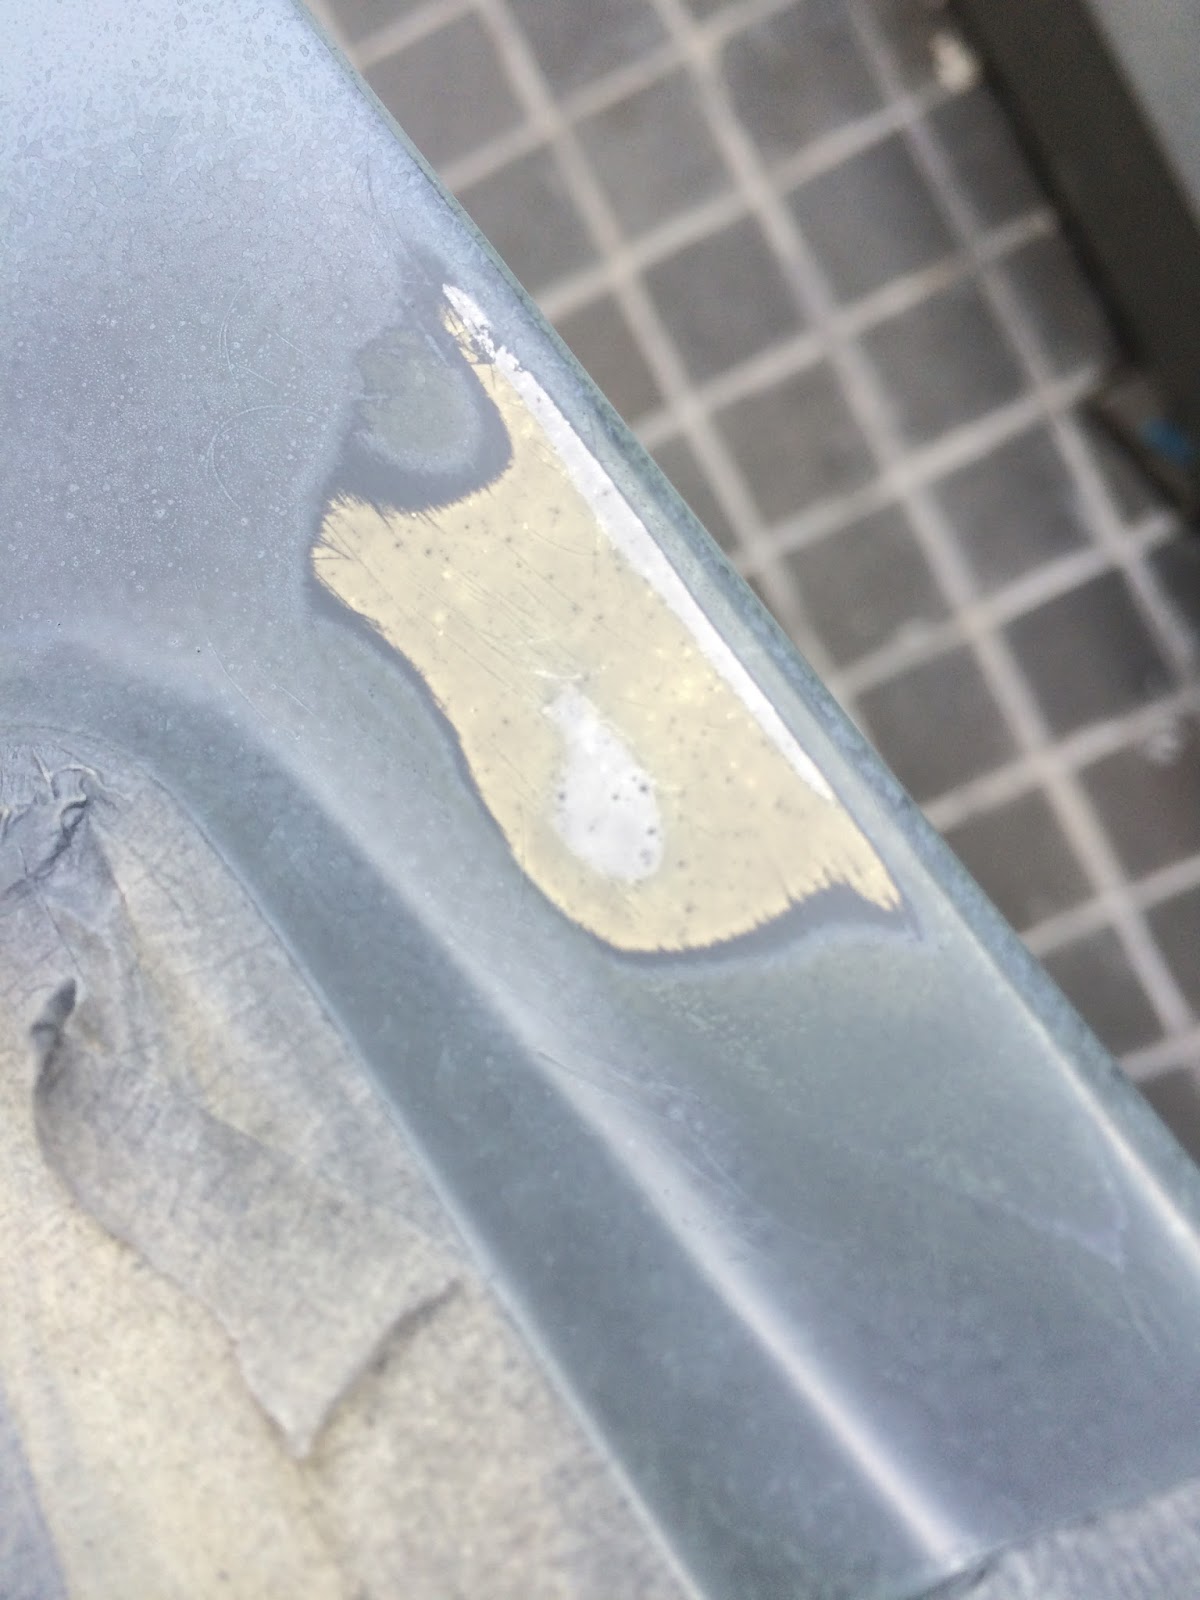
I think I have mentioned before that Leif has a hideous paint job that looks to be hammer finish paint that has been applied with a roller and brush; it is truely awful. Not content to only ruin the outside of the vehicle, whoever the painter was, also decided to do the inside of the bulkhead as well.
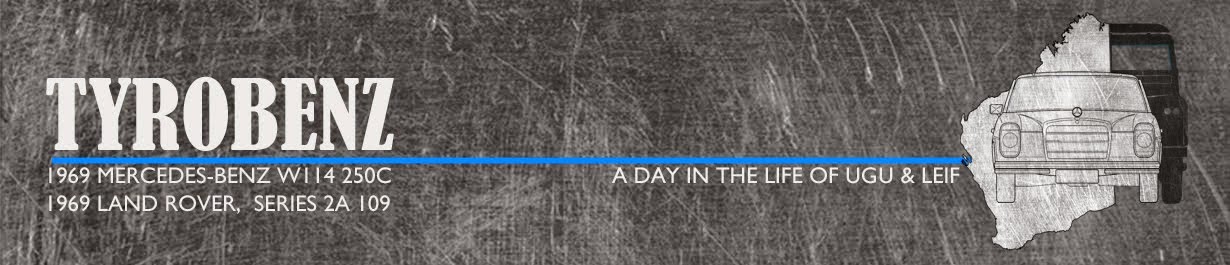
This provided my first obstacle; what to do about the painted panel? I had picked up a spare panel at a garage sale and despite it being very dirty and incomplete, on review it had a smooth painted surface and had all the holes in the right places, so I decided that this would become Leif's new dash panel and I would transfer all the original gauges and switches across.
Restoring this small panel became a massive challenge, immediately exposing my inexperience. But what I have learnt has been invaluable, so a big thank you to all those that offered advice and help.
My long journey of discovery into the application of acrylic paint is captured in the photos below. I never appreciated how sensitive paint is and how heat, humidity, curing time, sanding, cutting, polishing and a ton of patience are all vital to a successful outcome; get one thing wrong and out comes the sand paper again!

Leif's orignal panel minus the gauge that I had already removed

Replacement panel, dirty but dent free and no hammer finish paint!

Washed and corrosion rubbed back with 340 grit sandpaper
Some new parts ordered including chrome bezels and glass for gauges, and new power points and ignition

Custom acrylic paint made up to match the original Land Rover Mid Grey
(I don't have access to a spray gun or compressor so rattle cans were the weapon of choice)

Etch primer applied

Three layers of primer applied

Back of panel painted black as per Leif's original panel

First layers of paint applied, and then it all goes a bit, or very, wrong!
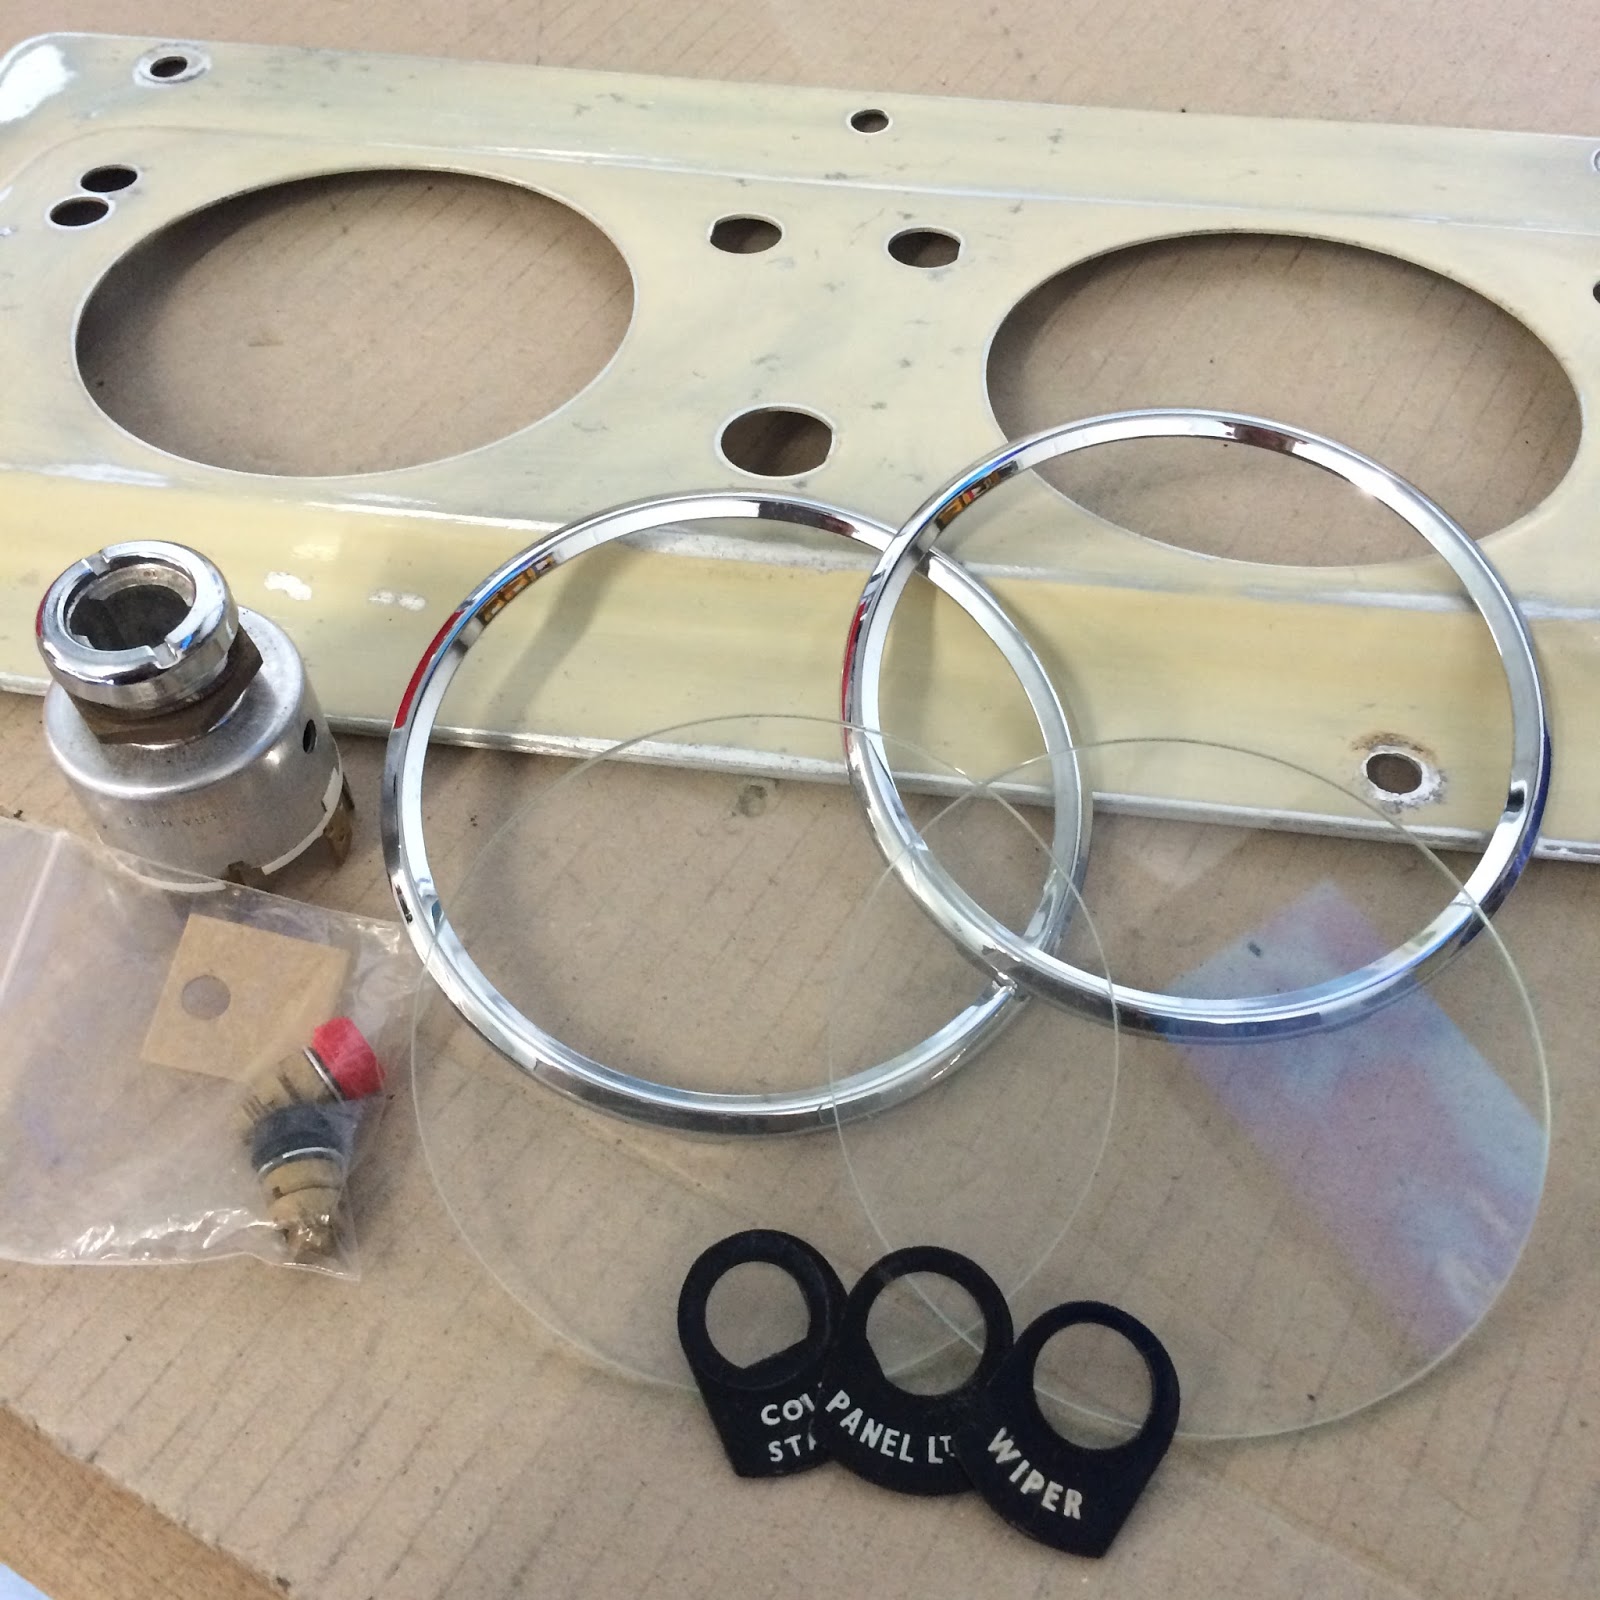
I now know that what happened was all down to my inexperience. Excited about seeing the end product I applied the paint in heavy wet coats without letting the layers dry properly between applications. Further more, the conditions were not right as I was painting in winter, at night, and in a newly constructed garage with concrete floor and ceiling creating lots of humidity. The thick wet painted created a run and once "sort of dry" I decided to sand it back but managed to go back to the bare aluminium.

Sanding back to remove imperfection. You can see all the layers of paint.

Very pleased with the colour match of the original paint seen here on the seat box lid
My learning curve from here was steep and what I now know is that the reapplication of the etch primer to the bare metal was eating into the acrylic paint creating little bubbles which looked similar to solvent boils (something else I learnt about on this journey).
Sanded back and etch primer layer dusted on

Bubbles similar to solvent boil evident when primer layer added

Frustrated stupid heavy application applied to try and fill in holes......

FAIL! Sand back and start again :(
I did more research, spoke to people with experience from some of the online groups and tried a few more attempts. In hindsight I should have rubbed the whole panel back and started again, but with most of the paint looking great I didn't want to and decided to totally mask off the good bit, then further masking to only expose the bare metal. Two coats of etch primer applied, tape removed then primer applied to build up the layers to match the adjacent painted surface. This process involved a lot of patience especially as the weather was wet and cold.

With the majority of the panel masked off, I only applied etch primer to the bare metal then built up the layers in primer to match the adjacent paint
Whilst waiting for the weather to warm up before applying the paint, I turned my attention to the gauges themselves, and I am pleased to say I had much more success first time round.

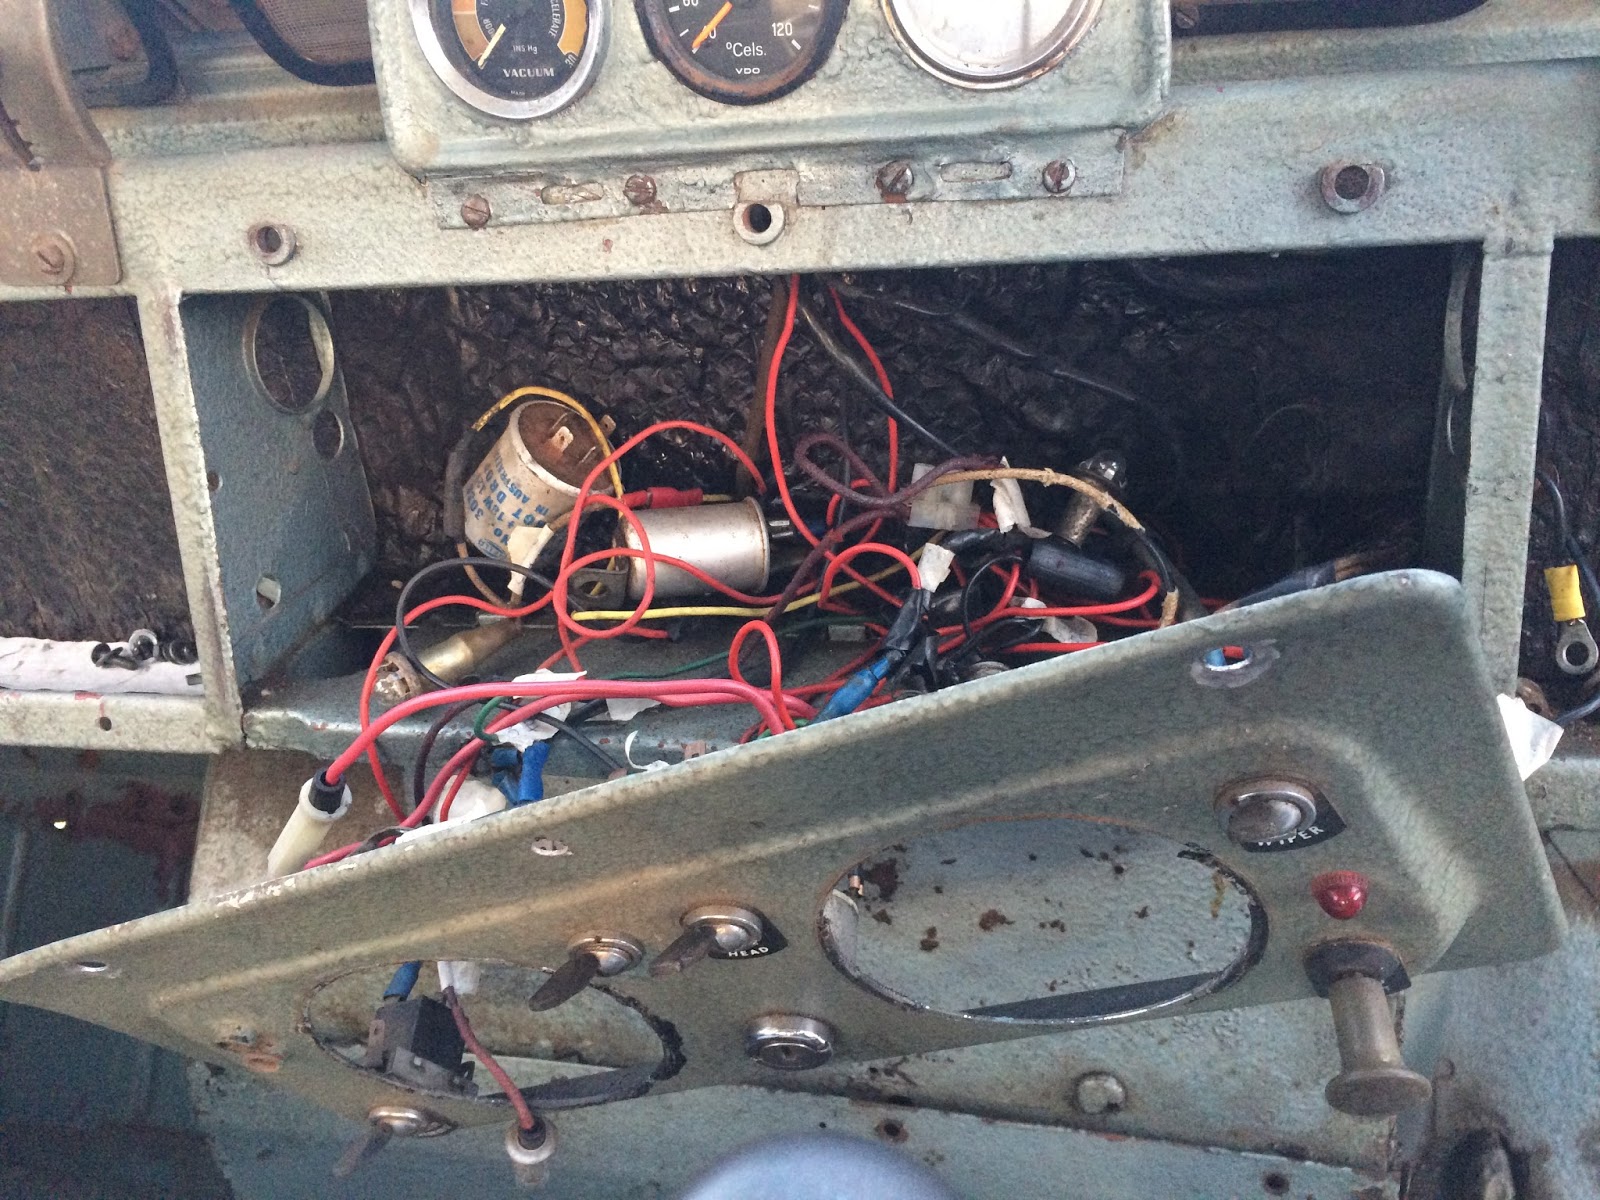
Wiring locations noted and photographs before disconnection

Very sorry looking speedo....

.... and temperature & fuel gauges
I suppose you could call this progress?

Who would have thought there would be so much dirt inside the gauges!

Face cleaned and looking like new

Bling, bling! So shiny UGU can be seen watching from the side lines

The chrome bezels are not original Land Rover issue, but I like it
With my excitement in full flow again following the restoration of the gauges, and the weather warmed up I returned to my paint problems.

Once masked area uncovered the edges were sanded back to create a seamless edge

Painting position changed from horizontal to vertical position after being advised it is easier to control the spray can movement this way giving a more even coverage
(this I can now testify to be true)
Other tips I was given and used included:
- Spray cans shaken for a good 5 minutes before use
- Warming the cans in a sink of warm water
- Making sure the panel to be painted was warm
- Allowing 24 hours curing before application of new layers
- No painting on a rainy day

Finished paint ready for sanding and cutting

First layer of clear coat applied. I know acrylic does not need clear coat, but I figured given the high traffic nature of this panel it wouldn't hurt to protect it.
(Isn't it interesting how different the paint colour looks under strong sunlight)
(Isn't it interesting how different the paint colour looks under strong sunlight)

Third coat of clear - Shiny!!!
So after a months work, much frustration, a lot of learning, one layer of etch primer, two layers of primer, 6 layers of paint and three layers of clear coat (not counting all the layers that I sanded off), the final result looks like this, and I am absolutely stoked - I even got a "WOW" from wifey!

Third coat of clear rubbed over with 1,200 grit sand paper, then cutting compound, and finally polish

Test fit of gauges
After allowing the paint to fully dry over the next few days, everything was tightening up and re-installing to Leif so that I could still start the engine. I am so happy with the end results:

Gauges and switches all fitted

What I started with, and what will be installed, yep; happy with that and well worth the effort

So, something looks a bit out of place!!