Friday 27 February 2015

Leif, Noooooo!!!

February may have been the month of love with Valentine's Day on the 14th, but, sadly there was no love at the Tyro Workshop as Leif decided to dispose of the only other Land Rover in my life!

"Mini-me" - my awesome second Landy that came as a surprise with Leif's purchase

As I have been tinkering with Leif and checking out the condition of the chassis, I have removed the front passenger floor plate and transmission tunnel for a better look; eventually I will remove the seat box and rear floors for a better inspection but I will report on that at a later date.

Foolishly, with Leif's battery getting low, I decided to start her up and move her from the back to the front of the Tyro Workshop. As we moved forward, "mini-me" drove off the dashboard, through the open floor and under Leif's wheels - I think she's a write-off -  gutted!

I suppose on the positive I now know what to ask wifey for as a present for my upcoming birthday.

I don't think that is going to buff out :(

Wifey, if you're are reading, hint, HINT!!!
(I don't think that you can get a Series 2A Model)

Sunday 8 February 2015

First things first, we need to stop!

With Leif off the tow truck and home for a few weeks, I hadn't done much more than look at her and think about what I was going to do, or at least try to do.

Leif is a long term project and, to be honest, I am in no rush to get her back on the road.  If I want to go for a drive, or hang out with some fellow enthusiasts and car club members I will take my beloved UGU. I will admit that this luxury of choice makes me feel not only very spoilt, but very thankful for my understanding wife.

I have no illusions that Leif will be some amazingly comfy and thrilling vehicle to drive, or that she will be some sort of show vehicle or extreme off-roader; this project for me is all about the process, with no timeframe and no predetermined outcome.

From the moment Leif arrived on the back of the tow truck I knew there was an issue with her brakes, as the brake pedal would go all the way to the floor with no resistance and no stopping power at all, highlighting the first job I needed to attend to.

Brake pedal goes all the way to the floor with no resistance
(Check out those safety boots haha!)

Having moved Leif from the front to the back of the Tyro Workshop I had worked out that if you pumped the brake pedal in rapid succession, after the seventh or eighth pump there was enough brake pressure to stop from a slow roll.  This, combined with the knowledge that the previous owner had recently replaced the master cylinder made me believe that there was air in the system.

I reached for my repair manual and went on-line to see how to fix the problem.

The process of bleeding the brakes is really very simple even if you are doing it on your own as I was.  (If you have a friend close by that you can ask to pump the brake pedal as you lie under the vehicle and do the messy bit, it would be even easier), however doing this on my own I did some research and bought a vacuum pump off Ebay.

New tools.  Vacuum pump and new brake/clutch fluid

I located and examined all Leif's bleed nipples. Over the next two days whilst I waited for the vacuum pump to arrive I gave them a good soaking with penetrating oil to try and free them up as they were seized solid.  This duration seemed to be the perfect amount of time for the oil to do its work, and by the time I had figured out how to use my new tool the bolts were nice and free.

To get started I removed the lid from the fluid reservoir and filled it to the brim with new brake/clutch fluid.  This would later allow me to see if the level had dropped.

I will admit there were various opinions about the order in which to bleed the brakes, but I followed the brake lines to the back end and connected the vacuum pump to the passenger side wheel after deciding it was the one furthest from the master cylinder.

I squeezed the pump to get pressure into the tube and watched the gauge to make sure there were no leeks before opening the bleed nipple.  If you can't get a airtight seal I did read that grease could be used around the end of the tube to seal it to the bleed nipple, but I didn't need to do that.

Vacuum pump tube connected to a well soaked bleed nipple

With the bleed nipple open I filled the pumps reservoir in accordance with the product instructions, and locked off the nipple before disconnecting the pump having seen no bubbles escape into the fluid.  I moved onto the other rear wheel, then passenger front before finishing on the front driver's side.  Between each wheel bleed I returned to the reservoir and topped up the fluid making sure that no air could re-enter the system.  I also checked the brake pedal to see if there was any resistance; to my delight there was now a bit.

I had seen a few bubbles come out during the process but it was not until I got to the front driver's side when I witnessed a lot of bubbles escaping into the vacuum pumps reservoir.

Vacuum pump doing its thing on the front driver's side

Bubbles in the system

With the brakes bled and the reservoir full again, I was so pleased to have a nice firm brake pedal.  I jumped behind the wheel and slowly drove around the block checking that everything was working and, to my relief, it was.

It is pretty nerve racking driving a vehicle for the first time, knowing that the only way of stopping it is via something you have just done, also for the first time.  With that said, the feeling of exhiliration when it all works as it should is very, very satisfying!

Lets hope this sets the tone as I continue on this restoration journey.


Tuesday 3 February 2015

The Turtle Cruiser

Since Jade's departure on a trailer back at the end of November, I have slowly been selling off the parts I removed, which so far, have helped contribute to Leif's restoration.

Jades departure from the Tyro Workshop, sad!


Though it still makes me sad to have destroyed a C114, it gives me a lot a satisfaction knowing that Jade's sacrifice has helped so many fellow owners and enthusiasts, who are either restoring their beloved stroke 8's, or they have had the misfortune to have been in a accident, as was the case with Dylan G. who Lives in America.

After a tow truck reversed into his W115 smashing the headlights and damaging the grille and A/C radiator, Dylan seized the opportunity to change his American specification headlights to the European type, so Jade's headlights and grille set out via land and sea to America.
(It is worth noting Dylan's car is not an everyday driver, so he was happy to have right-hand drive headlights on his left-hand drive car.)

Dylan G's car in America waiting for Jade's Grille and Headlights

American Specification Stroke 8.  Note the different bumper, headlights & side marker lights
Image from www.bringatrailer.com

UGU's Euro spec front end.

Not only has Jade's memory spread outside the greater Perth Metro area to America, but also Australia's East & South Coasts, Canada and Norway! I still have lots of parts left so who knows to what corners of the world Jade's memory will reach.

Brenton R. is another awesome guy who bought all of Jade's exterior chrome and fuel tank as he works to restore his 1970, W114 250C which he found abandoned under a Walnut Tree.

Under a Walnut Tree, alone and uncared for.
Note the original vinyl roof, nice!

All she needed was the right owner to give her new life.  Well done Brenton!

Jade's chrome makes it safely to South Australia

There are many other great people that I have met so far and have sent Jade's parts to. I could go on all day about the; in particular, Kaleb with his W108 hearse; but to prevent me writing a lengthy essay I will just say thank you to all off you, you know who you are.

Only this week I received an enquiry from a fantastic chap in Norway called Gabriel, about Jade's indicator arm that I had advertised for sale.  As tends to happen, we got chatting via Facebook and Gabriel introduced me to his fantastic stroke 8, and I cannot help but share my interest in "The Turtle Cruiser"!

Found in a terrible state in Oslo over 7 years ago, Gabriel paid scrap price for his then vandalised 1970 W114 Ambulance.  Since then he and his family have lovingly restored it into the "Turtle Cruiser"

The Turtle Cruiser following an extensive restoration 

This is no way to treat a veteran! 

Love hearts and patchiness was definitely not standard issue paint work

Originally a military ambulance based in the arctic, north of Norway, she spend most of her life there. Despite the weather conditions I am told there was hardly any rust in the body, and with only 100,000km on the clock, the original 230 motor still remains post restoration.

Original motor still going strong

The restoration of such a unique vehicle I can only imagine would be very difficult and the end result is a credit to the owner. Gabriel tells me he has found it impossible to source replacement back doors and tail lights, so, if any of you reading this can help please get in contact.

Ongoing restoration, but back on the road and looking large!

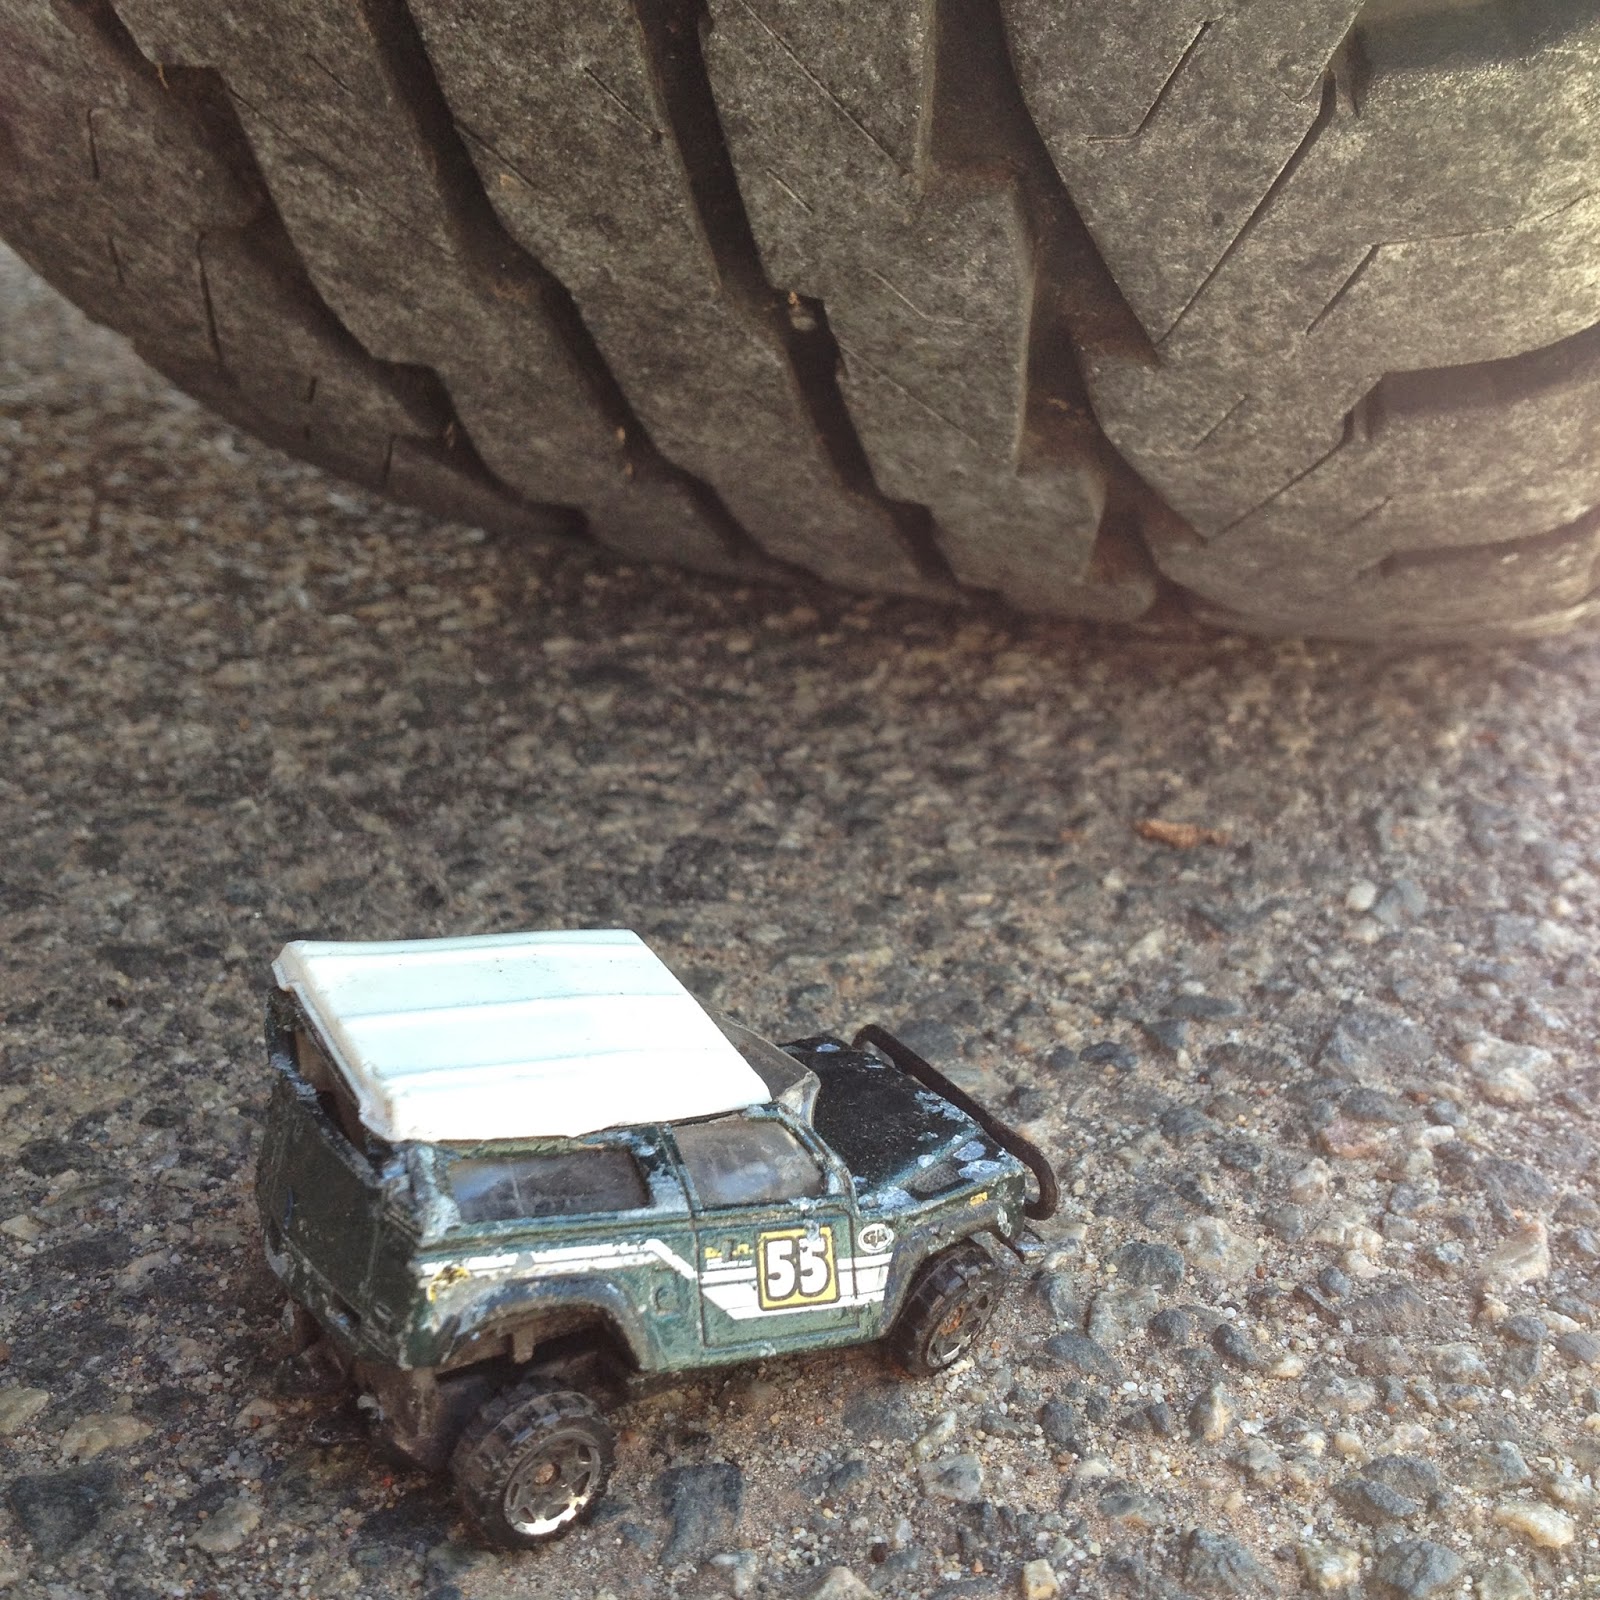
I will finish by saying that the Turtle Cruiser is by far one of the most unique Stroke 8's I have ever seen, and what makes me smile is that she sports a Land Rover roof rack, haha - that one's for you Leif!

LOVE IT!!!