Tuesday 28 April 2015

More lenses than your local optician!

For those of you who follow my blog, i know there is at least one of you (thanks wifey xx), who will know that only last weekend I saved a heap of parts from the tip. Today I took some time to sort through the box that I had just filled with stuff when there.  It was like Christmas - so many cool things some of which will be kept for Leif.  So what did I have in the grey mystery box??

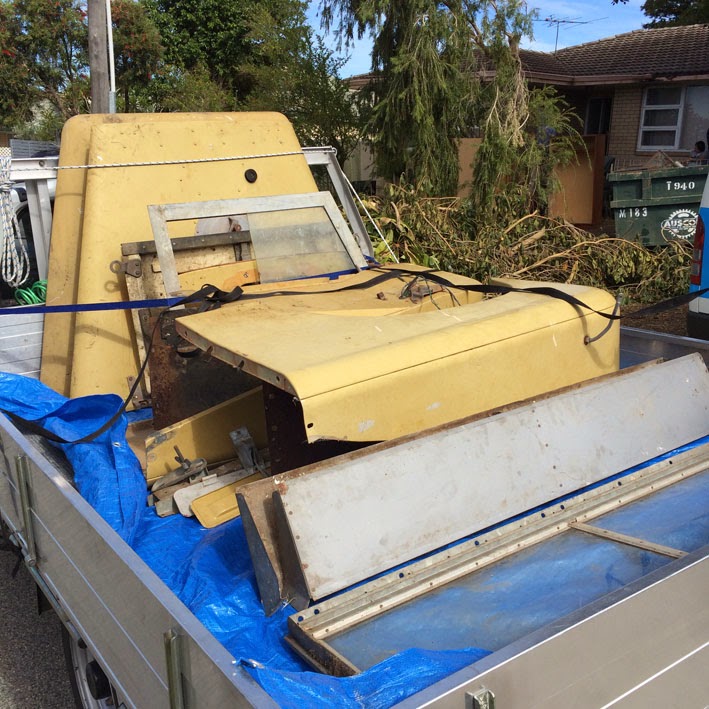
The mystery box.....


Ta-da!!!!
I now have more lenses than I can reasonably hold under the "just in case" banner so many of these will be up for sale.

This is not the full contents of the box, there were many more contact sets, a few gear knobs, and a speedo that reads in MPH and KMH - Leif might be getting that even if not original to him.

And so to the close ups, quantities excluding Leif's and costs.  I will post to anyone that needs at an additional cost depending on quantity and location. Price negotiable on multiples.

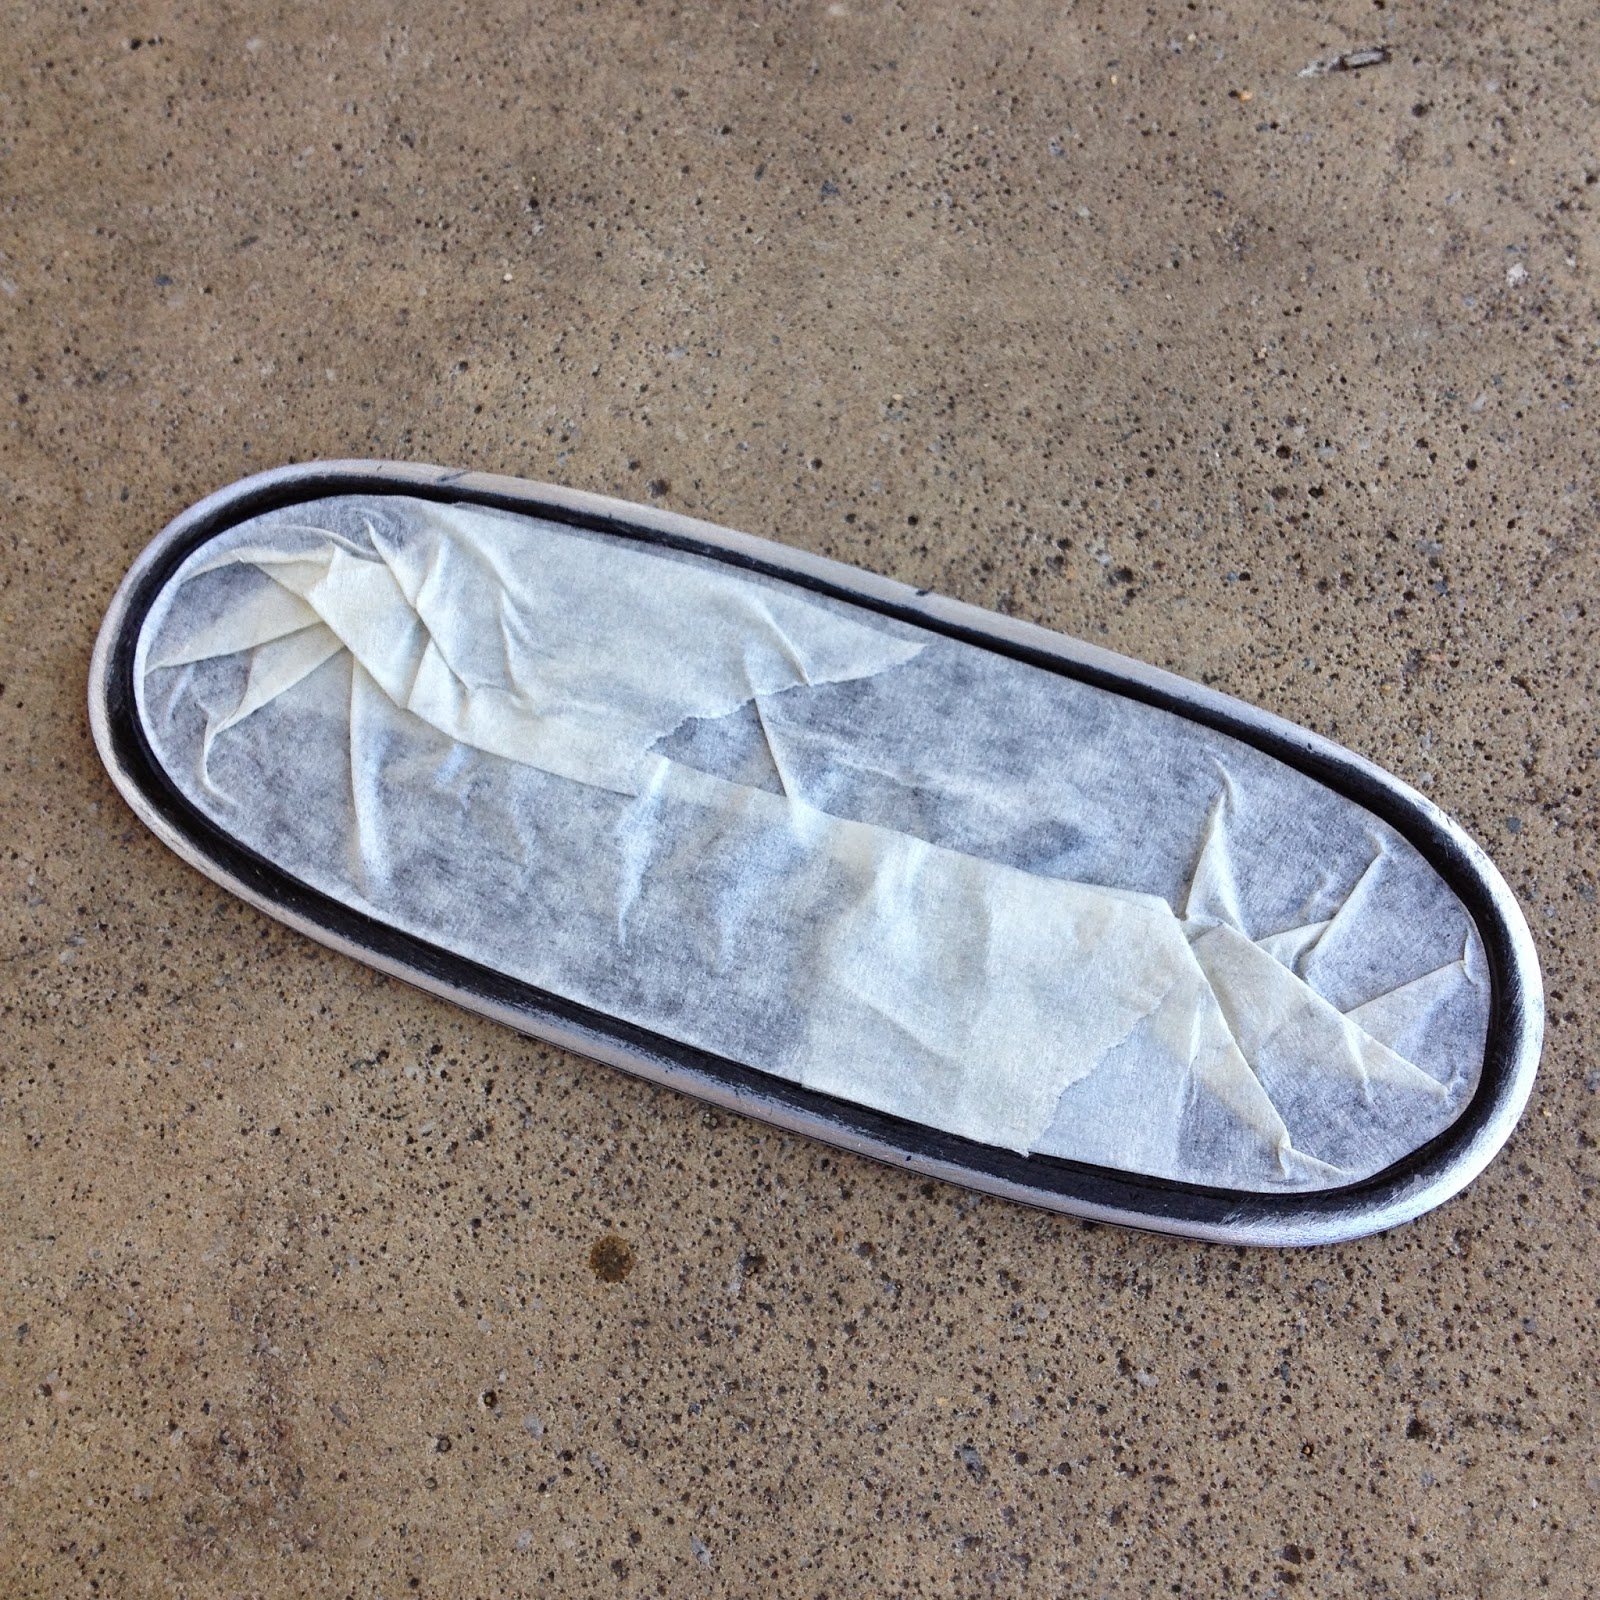
Wipac Side light lens and screws in original unopened package. 

Part #: R542050 / S3473
Condition: New Old Stock, unopened and unused complete with screws
Quantity: SOLD OUT
Cost: $4 each

Rover, Land Rover, Leyland side light lens in original unopened package.

Part #: 589283
Condition: New Old Stock, unused and complete with screws
Quantity: SOLD OUT
Cost: $4 each

Unipart side light lens in original unopened package.

Part #: 589284
Condition: New Old Stock, unused and complete with screws
Quantity: SOLD OUT
Cost: $2.50


Rover, Land Rover unused indicator lens.

Part #: 6220-66 / 020-3220 or 542048
Condition: New Old Stock, unused complete with screws. Tape to hold screws in place
Quantity: SOLD OUT
Cost: $4 each

Wipac tail/stop light lens with reflector and screws in original unopened package.

Part #: R542044 / S3472
Condition: New Old Stock, unopened and unused complete with screws
Quantity: SOLD OUT
Cost: N/A


Wipac tail/stop light lens with screws in original unopened package. (No reflector)

Part #: S3472
Condition: New Old Stock, unopened and unused complete with screws
Quantity: SOLD OUT
Cost: $10


*RARE* Wipac tail/stop light lens with reflector and number plate light illumination section.

Part #: S170
Condition: Used but in excellent condition, no cracks or stress marks
Quantity: SOLD OUT
Cost: N/A


*RARE* Tail/stop light lens with reflector and number plate light illumination section.

Part #: KL-21
Condition: Used but in excellent condition, no cracks or stress marks. This is the same size as the Wipac, but the reflector is smaller
Quantity: 1
Cost: $20


Wipac tail/stop light lens with reflector (USED).

Part #: S170
Condition: Used
Quantity: SOLD OUT
Cost: $7.50 each

Bedford Tail/stop light lens with reflector and number plate light illumination section.

Part #: 1594
Condition: Used but in excellent condition, no cracks or stress marks. 
Quantity: SOLD OUT
Cost: $15 each 

Just needs a clean, which I will do before postage / collection


Side light lens, one with housing.

Part #: N/A 80mm diameter with 45mm projection. Rebated edge to fit housing
Condition: Used but in good condition. 
Quantity: SOLD OUT
Cost: $15 for the pair


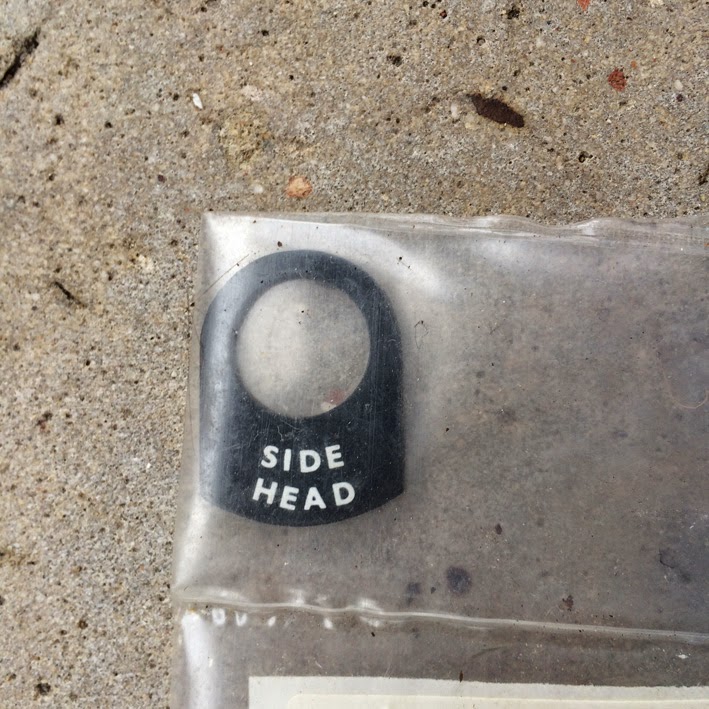
I don't know what these are!

Part #: S350 A2 / PRC 1814
Condition: New Old Stock, unopened and unused
Quantity: 7
Cost: Open to offers if someone knows what they are


Part #: S350 E7 / PRC 1814
Condition: New Old Stock, unopened and unused
Quantity: 2
Cost: Open to offers if someone knows what they are 

Lucas condesner.

Part #: C4 / 54425179
Condition: New Old Stock, unopened and unused 
Quantity: 3
Cost: $2 Each


Lucas contact set.

Part #: GL 19v
Condition: New Old Stock, unopened and unused 
Quantity: 4
Cost: $1 Each

Lucas contact set.

Part #: GL 769
Condition: New Old Stock, unopened and unused 
Quantity: 2
Cost: $1 Each

Lucas contact set.

Part #: GL 202
Condition: New Old Stock, unopened and unused 
Quantity: 4
Cost: $1 Each

Lucas contact set.

Part #: GL 103
Condition: New Old Stock, unopened and unused 
Quantity: 2
Cost: $1 Each


These are mine, not for sale but so chuffed with the find I couldn't help but share!

 Due to its size, this is my favourite find

 New Ignition switch

 One of the two complete taillight assemblies to replace Leif's cracked ones

Seals, universal joint and more beautiful boxes


Saturday 25 April 2015

I consider myself a saviour, others might say I'm a hoarder

Oh my god, I think I have a problem. I am addicted to old cars and rusty junk!

Earlier in the week I got a text message from Joe, the chap I have been to see twice already to buy some of the Land Rover parts that his late father had accumulated over many years.  Joe told me that everything they had needed to go, or it was destined for the bin as the house was to be sold.


Now, if there is one thing I hate it is wastage. Wastage of vintage car parts is therefore very high on my list.

Today I went back for one last look to see what I could save. Sadly I couldn't take it all, but I was relieved to see that some of the stuff I had seen on my previous visits had gone.

I spent two hours going through everything, no box was left unopened and I am thrilled to say I still managed to find some awesome stuff, including a dirty, but near perfect Series 1 drivers door top!!!  Where on earth would you find one of them now?


Series 1 Door Top, this must be over 60 years old!

For this last trip I planned ahead and arranged for a man with a ute to help me pick up what I intended to buy as my wife's Volvo S40 has a very small boot opening.

The "Man with a ute" was called John; I found his services on Gumtree and I could not recommend him highly enough.  He was punctual, affordable and just seemed a really decent guy. If you ever need help to move some stuff and don't have a ute on hand give John a call (0411 561 222) based in Osborne Park.

A "Man with a ute", and some Land Rover parts haha

The Volvo's boot opening may be small but that didn't stop me getting a lot of stuff in there

I still have to go through the things that I bought to clean, sort and photograph, but here are some photos.  What I do know is I have a box full of new, unused indicator, side light and brake light lenses, a Series 1 & a Series 2 Grille, headlights, fenders, 2 bonnets, about 10 discovery spare wheel covers, some door handles, 2 external sun-visors, a spare windscreen which still has its Lucas wiper motor, another 10 or so rear view mirrors, a tailgate and a SWB interior spare wheel fixing point.  Most of this stuff is available for sale, so if you see anything of interest please get in touch.  

I couldn't bare to see it go to landfill, so I bought it to help other enthusiasts.

 I am not joking when I say this box is full of lenses, many still in their original packaging!

 Series 1 Grille

 Series 2 Grille

Series 3 Radiator Panel

 Series 2 or 2A Wings

 Door Handles

 Glass fuel filter housings

 SWB interior spare wheel carrier

 Front flap and lever

 External Sun-Visors

 Spare Wheel covers, some silver, some white

 I just loved the look of this small Jerry can.  I might spray it with clear coat

 Serie 2 or 3 tailgate

 Lucas wiper motor still attached to windscreen, wonder if it works

 Windscreen with glass in excellent condition.  I was amazed how heavy this thing is!

 Series 2 or Series 3 bonnet, flat edge, not deluxe type

Headlight, buckets and surrounds


Friday 17 April 2015

Mini Project 2 - Polish your knobs

Amongst the bits and pieces I got during my garage sale blitz, were some original and very used gear knobs.  Though very grubby and tired looking, they showed no signs of cracking or heavy chips.

Yuk, not looking so healthy!

Following on from my success with the polishing of Leif's chrome, I first tried to remove the dirt with some super fine steel wool, but it was just too ground in.  I went and bought some course steel wool, and whist it was a little better, it was not giving me the result I was after.  Finally I had a go with the P400 sand paper.  I even wet the paper and gently started going over each knob. The end result - well, see for yourself:

Work in progress. Red knob wet and finished

Clean and dry.  Still have character for that authentic look

Do these look familiar??  Oh yeah.......

Perhaps Mars' R&D was done in a Series Land Rover, haha!

Both knobs are now up for sale, as I don't need them for Leif. Check out the Tyro Part Mart for listing:


I will give both Leif's knobs the same treatment, the only difference is that Leif's Lucky 8 ball will be kept instead of the red knob.  Not original, but part of his story.

Leif's knobs pre-treatment. I will update once they have been cleaned.

Thursday 9 April 2015

Mini Projects - It's all in the detail

With the recent arrival of our first child, along with a very busy period at work, and the commencement of construction on our house extension, to say I have been time poor is an understatement.

Unable to commit to hours on end to tackle some of Leif's larger issues, I have turned my attention to working on small parts that I can do in drips and drabs; mini projects that will all come together to make the master project the best it can be.

In addition to this I have found myself trolling Ebay and Gumtree at an unhealthy bi-hourly rate seeing what parts are out there, thankfully most things seem to be readily available, so I haven't bought too much yet….YET, haha.

The first "mini-project" I have tackled is the rejuvenation of Leif's weather worn badges.

Badges as they were

The badges have been touched up before using a brush, but I wanted to approach the project differently using spray paint.

The rear badges had been moved to the back door as a water tap has been installed in their original location.  From the amount of dirt and dust behind them I guess they have been there for quite a while!

With all the badges removed, and a spare one bought to experiment with, I gave them a good wash followed by a good going over with some wire wool.

I am pretty sure that the badges are all pressed aluminium, so I hit them with three coats of etch primer.......

Then several coats of gloss black car paint.

Ooops!  I managed to get a run in the paint so I had to sand it off and try again.

With the paint left to dry, it was a few days before I returned to them.  I was pretty happy with the black coverage, but now the tricky bit started, removing the paint from the lettering.

I planned to use fine sand paper to remove the paint, so starting with P240 the paint came off easily, but care was needed to ensure the soft aluminium below didn't get too scratched.  I changed to P400 paper which didn't scratch the soft metal.

With the badges being so small, it was tricky to sand only the required areas without scratching the paint elsewhere.  After a few failed attempts and some repainting, I decided to cover the areas I wanted to protect with masking tape.

Outer edge sanding commences once masking tape is in place

Outer edge sanding complete

Moving onto the lettering, so the masking tape was removed and reapplied

Lettering complete and ready for the grand unveiling

Not bad even if I do say so myself. Now onto the rest of the badges

A work in progress.  Then onto the next one, who knows when that will be finished!

Until I get the badges finished I figured I may as well have a laugh in the meantime.
G-Wagon Prototype perhaps?