Unable to commit to hours on end to tackle some of Leif's larger issues, I have turned my attention to working on small parts that I can do in drips and drabs; mini projects that will all come together to make the master project the best it can be.
In addition to this I have found myself trolling Ebay and Gumtree at an unhealthy bi-hourly rate seeing what parts are out there, thankfully most things seem to be readily available, so I haven't bought too much yet….YET, haha.
The first "mini-project" I have tackled is the rejuvenation of Leif's weather worn badges.


 Moving onto the lettering, so the masking tape was removed and reapplied

Badges as they were
The badges have been touched up before using a brush, but I wanted to approach the project differently using spray paint.
The rear badges had been moved to the back door as a water tap has been installed in their original location. From the amount of dirt and dust behind them I guess they have been there for quite a while!
With all the badges removed, and a spare one bought to experiment with, I gave them a good wash followed by a good going over with some wire wool.
I am pretty sure that the badges are all pressed aluminium, so I hit them with three coats of etch primer.......
Then several coats of gloss black car paint.
Ooops! I managed to get a run in the paint so I had to sand it off and try again.
With the paint left to dry, it was a few days before I returned to them. I was pretty happy with the black coverage, but now the tricky bit started, removing the paint from the lettering.
I planned to use fine sand paper to remove the paint, so starting with P240 the paint came off easily, but care was needed to ensure the soft aluminium below didn't get too scratched. I changed to P400 paper which didn't scratch the soft metal.
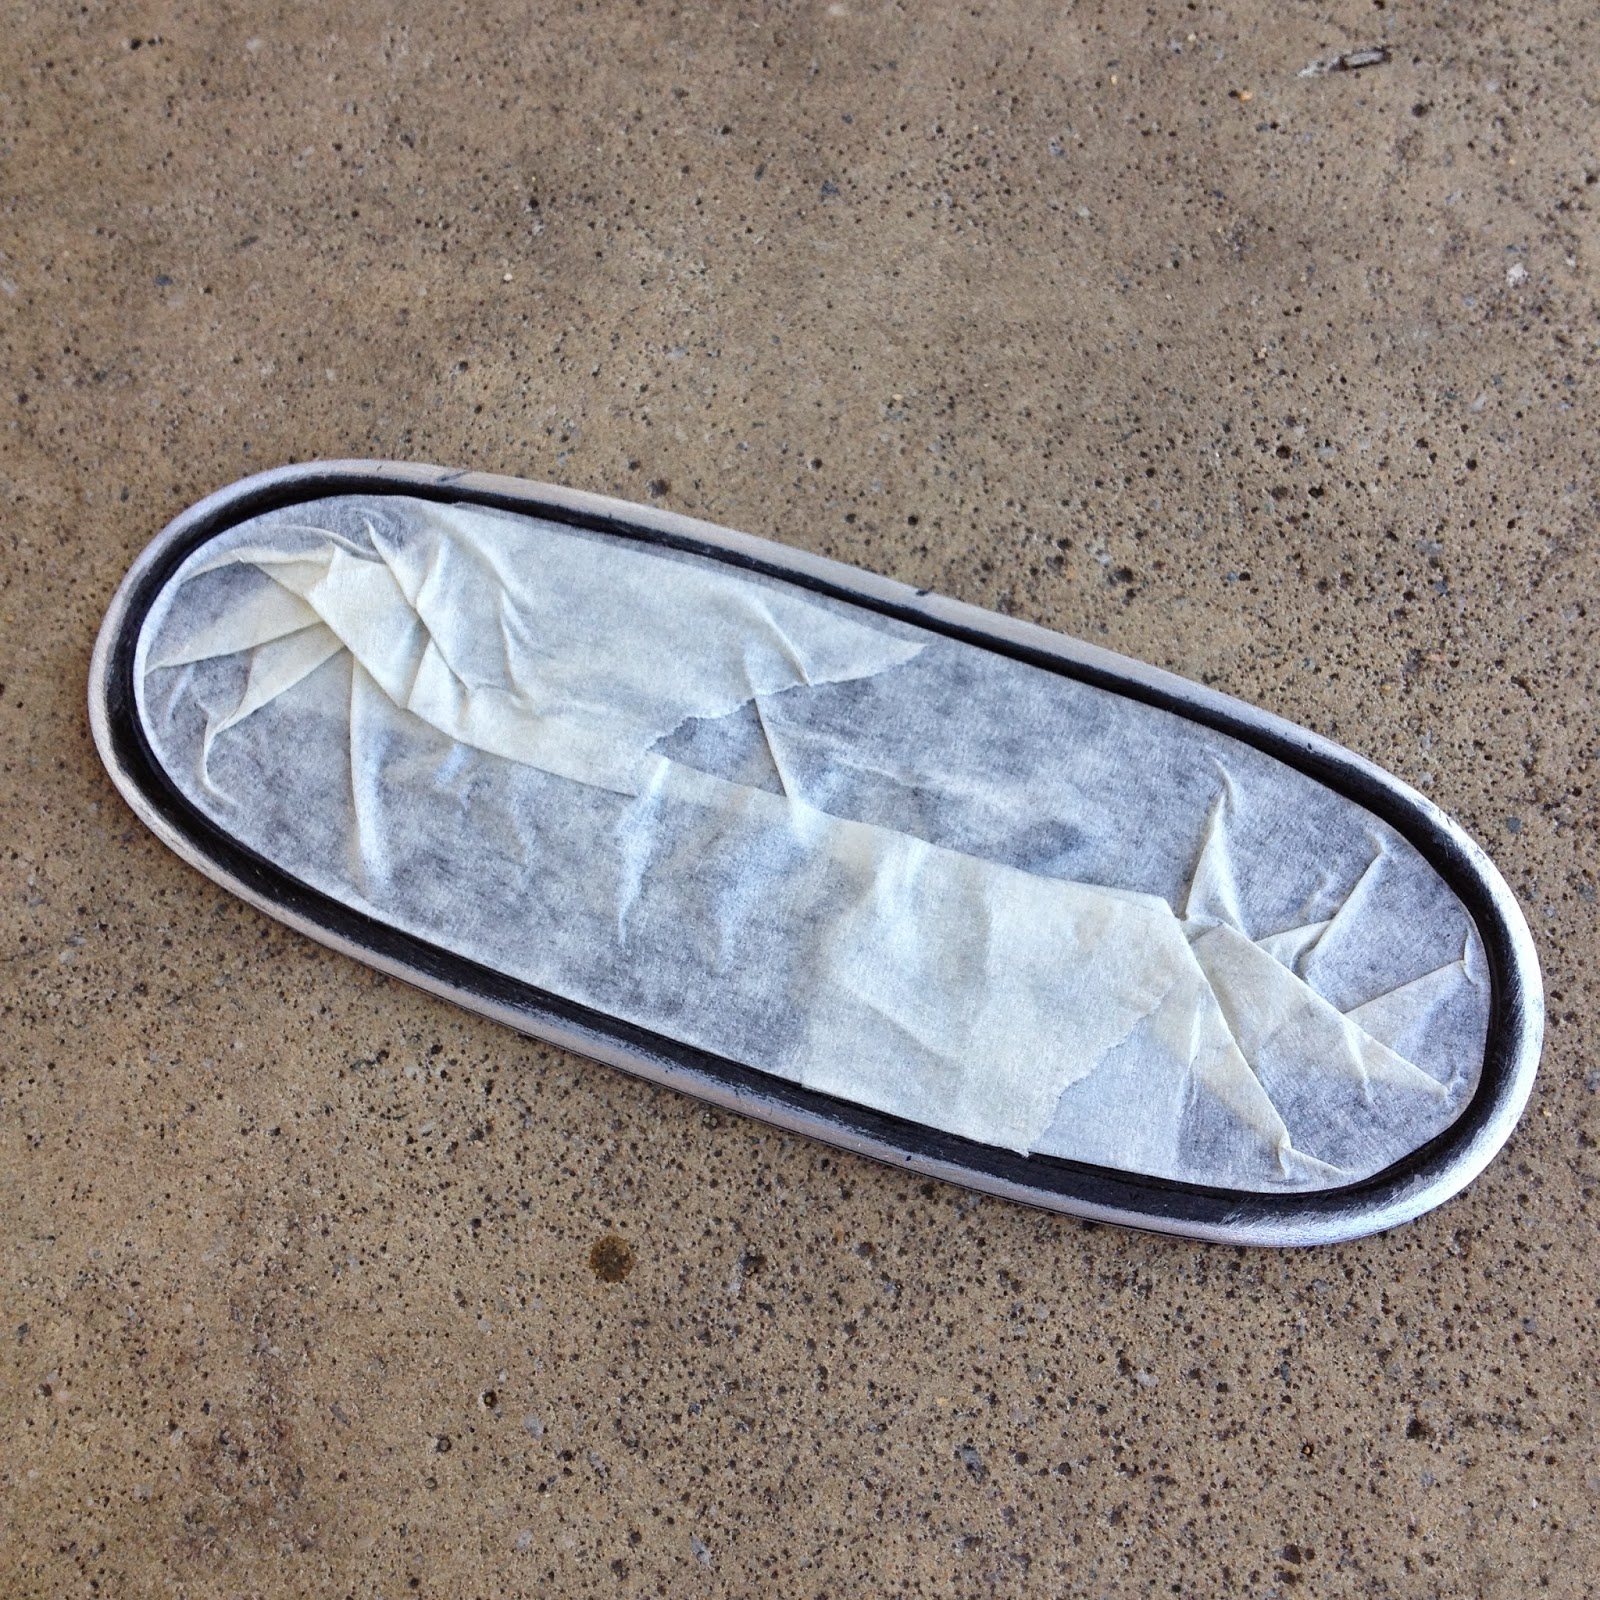
With the badges being so small, it was tricky to sand only the required areas without scratching the paint elsewhere. After a few failed attempts and some repainting, I decided to cover the areas I wanted to protect with masking tape.
Outer edge sanding commences once masking tape is in place
Outer edge sanding complete
Lettering complete and ready for the grand unveiling

Not bad even if I do say so myself. Now onto the rest of the badges

A work in progress. Then onto the next one, who knows when that will be finished!

Until I get the badges finished I figured I may as well have a laugh in the meantime.
G-Wagon Prototype perhaps?
No comments:
Post a Comment